How to install a door stopper
How to install a door stopper
Door stoppers are easy to install and can be added behind any door in your property. Also known as door stops and sometimes written doorstops, door stoppers stop the door (and the door handle!) from hitting and damaging the wall. These are great for commercial spaces that have high foot traffic but are also suitable for residential properties.
Are door stops necessary?
Even though door stops are not necessary, these small pieces of hardware are incredibly helpful. Not only do they avoid wall damage, but door stoppers also come in various sizes, designs and finishes, being the perfect decorative element to finish off a space.
Related: Different types of door stoppers.
There are also other types of door stops, such as door wedges, that are designed to keep doors open to prevent doors from snapping shut and allow people to come in and out of a room easily and quickly. Door wedge stoppers are often rubber door stops but can also be made of different materials.
What makes a good door stop?
A good door stop is a door stop that meets your requirements. If you require a door stop to stop the door from slamming into the wall, go for a skirting door stop or a floor door stop. In case you are searching for a door stopper to keep doors open, choose a door wedge.
Related: Best location to install a floor door stop.
How to install a skirting door stop.
Skirting door stops, also known as baseboard door stops, are some of the most popular types of door stops. These are installed on skirting boards and feature a rubber tip to absorb the force of the door. If you are still searching for the right skirting door stop, both the black skirting door stop and satin chrome door stop are great options.

Materials:
- Skirting door stop
- Pencil
- Drill
- Drill bit
How to:
Step 1 – Open the door to assess where the door stop should be installed. It is recommended to install skirting door stops 2 inches in from the edge of the door. Mark the location with a pencil.
Step 2 – Drill a pilot hole. Be sure to use the right drill bit for the pilot hole. Check the size of the screw that came with the door stop. Depending on the surface, you might also want to add a wall plug.
Step 3 – If you are installing a spring door stop, twist apart the spring to disassemble the door stop. Place the door stop base on the wall and fasten the screw. Twist the spring until tight.

Step 4 – If you are installing a simple skirting door stop, use the screw supplied to attach the door stop.
Step 5 – Test the door stop. If everything is working well (like it should!), you are good to go.
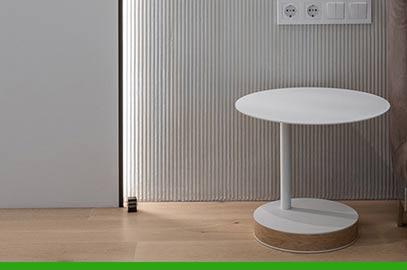
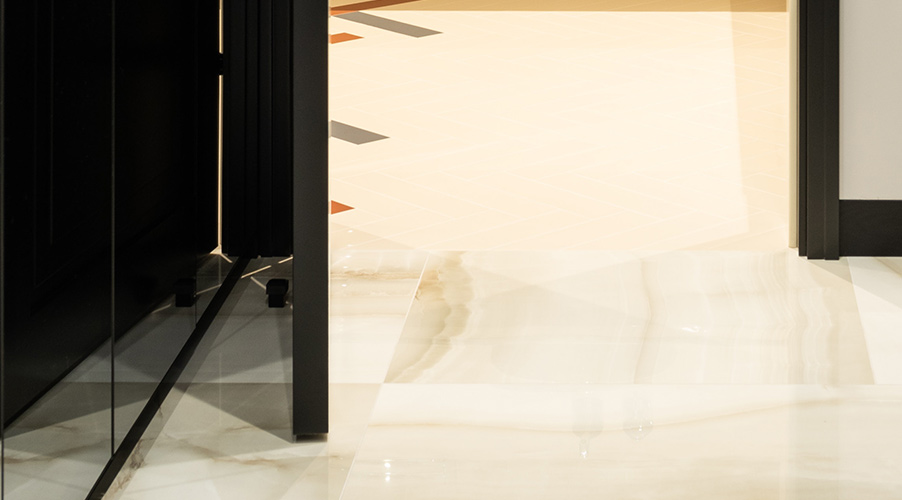
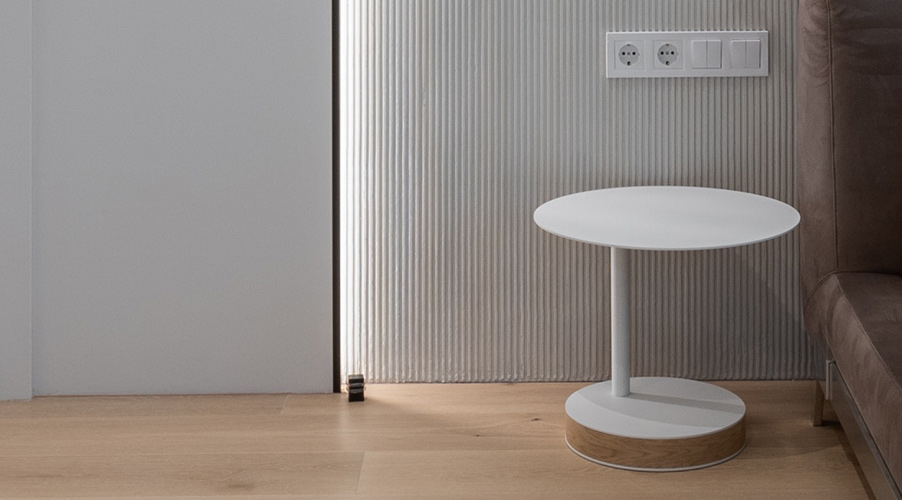
How to install a floor door stop.
Floor door stops work the same way as skirting door stops but instead of being installed on skirting boards, floor door stops are installed into the floor. Heavy-duty door stops are ideal for commercial spaces whilst black nickel oval floor door stops are ideal for any property.

Materials:
- Floor door stop
- Pencil
- Masking tape
- Drill
- Drill bit
How to:
Step 1 – Open the door and make sure the door handle is not hitting the wall. Mark on the floor the spot for the door stopper. If you have wood flooring, use a pencil. For carpet, use masking tape and mark the masking tape.
Step 2 – If your doorstop has a base plate, unscrew the base plate and place it inside the line you’ve marked. Drill the screw into place and screw it on the top of the door stopper.
Step 3 – If your doorstop does not have a base plate, it will most likely have a screw hole. Place it inside the line and drill the screw through the screw hole.
Step 4 – Test it. Is it working fine? Perfect.
How to remove a door stopper?
Whether you are not happy with the location of your door stopper or want to move out and take the door stops with you – you might be curious about how to remove door stops. Simply do the exact opposite of what you did when installing it. Unscrew the door stop screw, remove the door stop and fill the hole.
Disclaimer
At Ironmongery Experts we strongly advise that you always use safety precautions when undertaking a DIY project and ensure that you read and follow the manufacturer’s instructions when using any building materials, products or tools for your projects.
We try our best to provide clear and correct instructions within our articles, however, please note that this information should only be used as a general guide and some information within the text may not be entirely accurate.
When using our articles for information and advice, please note that it is your SOLE RESPONSIBILITY to determine whether you have the competence and knowledge to undertake the task that you want to complete.
Before starting a DIY task, it is essential that you are aware of any existing building, gas, water and electrical works regulations. If you have any reservations, we recommend that you complete additional research or contact the appropriate professional body.
We also strongly recommend that a qualified tradesperson completes relevant safety checks on any DIY work you have completed.