New Prints of Expansive Bits –
Editor’s Note: Briony Morrow-Cribbs, who illustrated “The Anarchist’s Design Book,” has just completed a run of 50 letterpress prints on the evolution of the expansive bit for a client. As part of the process, she has 50 prints to sell. Read the story about the process below. Details on ordering the print are at the end. Briony does fantastic work, and we love this print (I have one in my office).
Last winter, when I completed the illustrations for “The Anarchist’s Design Book” by Lost Art Press, I was hopeful I would be invited to do similar illustration projects. While I love creating my own art — my growing menagerie of strange and beautiful beasts and botanicals — there is something extremely satisfying in rendering clean, precision-based objects. In making these illustrations, the emphasis shifts away from “what do I want to say” to “how do I best convey the purpose and physical aspects of this object?” So it was to my delight that Eric Brown of Dayton, Ohio contacted me last February about commissioning an illustration of a portion of his collection of expansive drill bits dating from 1852 to 1874.
If you are not familiar with expansive or expansion bits, they are specialized drill bits for cutting large holes in wood, which use a combination of a center pilot bit with an adjustable, sliding blade or cutter. In addition, there is a set screw that locks the cutter into a desired position. Made before the invention of power tools, expansive bits were originally to be used with a brace, or other hand drill.
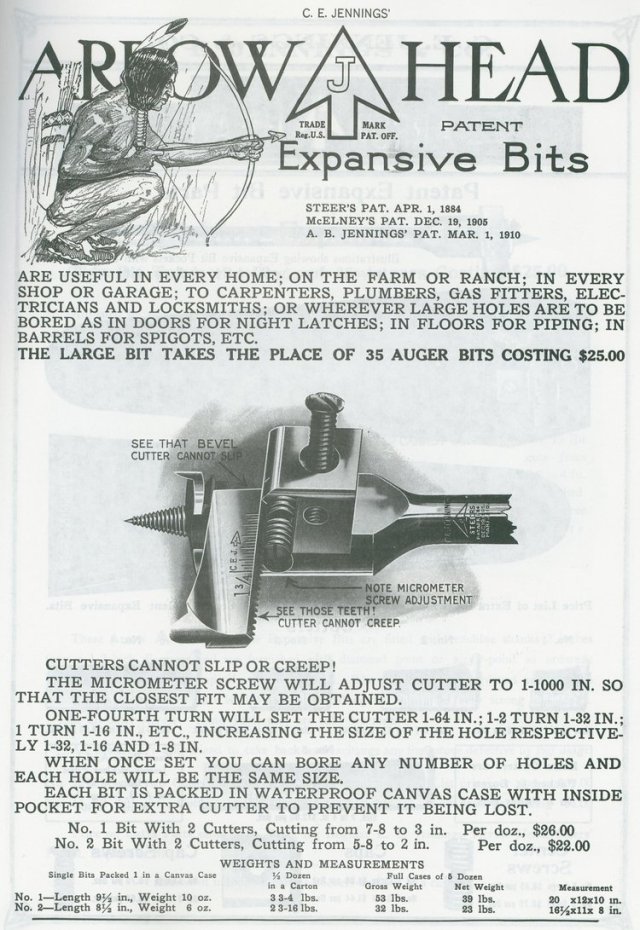
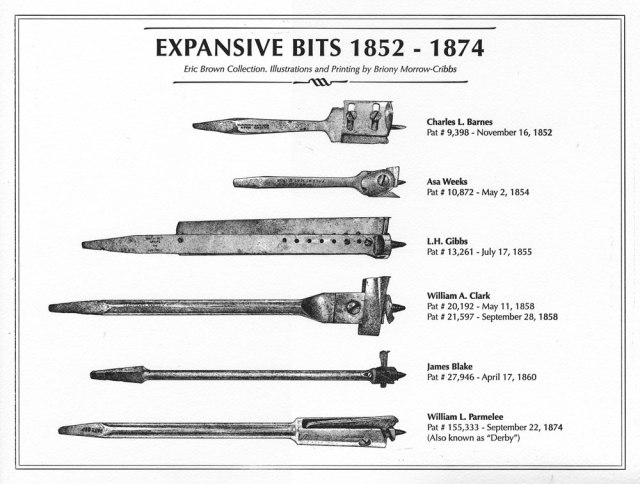
Eric’s expansive drill bit collection consists of over 300 individual pieces and he has managed to find patent numbers, dates and other information about the bits. After some discussion, Eric and I decided to start with six of the oldest patented bits and include text about their patent numbers and creators.
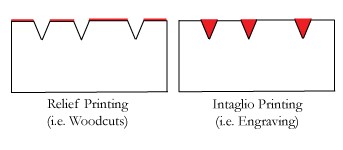
Initially, Eric was interested in having an edition of prints made from a photopolymer etching plate. (Photopolymer etching was the process that I used for The Anarchist’s Design Book. If you’re interested in knowing how I made these images, you can watch this movie). However, after several test strips and a lot of fussing around with laminating plates and figuring out etching times, I decided that a more straightforward approach to creating a large image combining both text and illustrations would be to create a relief plate. (In relief printing — woodblocks, linoleum blocks, photopolymer relief plates etc. — the raised surfaces are inked and the incised or lower areas stay white. On the other hand, intaglio images — engravings, etchings, collographs etc. — are inked by filling in the recessed surfaces and wiping the surface clean). This decision to create a relief plate meant that I could easily combine my hand-drawn imagery and computer-generated text, and it also meant that the image could be printed on a Vandercook letterpress which would make printing an edition a much quicker endeavor than repeatedly hand-inking and wiping a plate in order to produce each print.
PROCESS
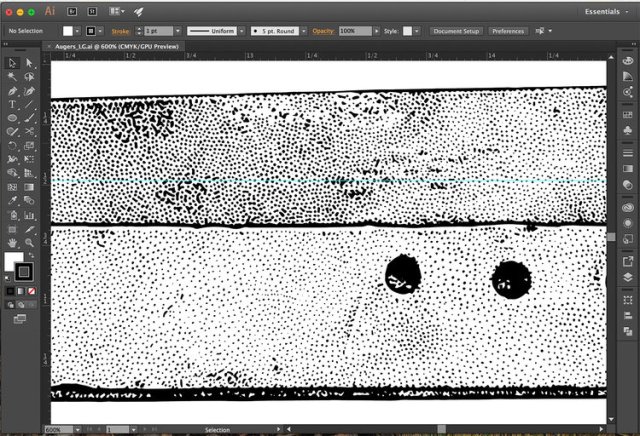
The process began with photographing Eric’s six drill bit pieces and compiling a full-sized image in Adobe Illustrator of all the bits and their accompanying text. After that, I printed out images of the bits that had been enlarged by 130% and created a stippled ink drawing on vellum, carefully rendering shadows, blemishes and stamped type.

Photograph of L.H. Gibbs expansion bit

Ink drawing of L.H. Gibbs expansion bit
Following the rendering of each image, I scanned the drawing back into the computer at a high resolution to create a bitmap image that I then moved into Adobe Illustrator in order to create a vector-based image.
Finally, when all of the drill bits were rendered, scanned and processed, I sent the full-size, completed vector digital file to Boxcar Press. Boxcar Press is a shop in central New York that sells letterpress materials and offers letterpress printing services, and also has the awesome ability to create letterpress relief plates from polymer material. The plate comes with a double-stick adhesive on the back that allows it to adhere to a thick base-plate that raises the relief plate until it’s perfectly type-high and ready to be printed on a letterpress.
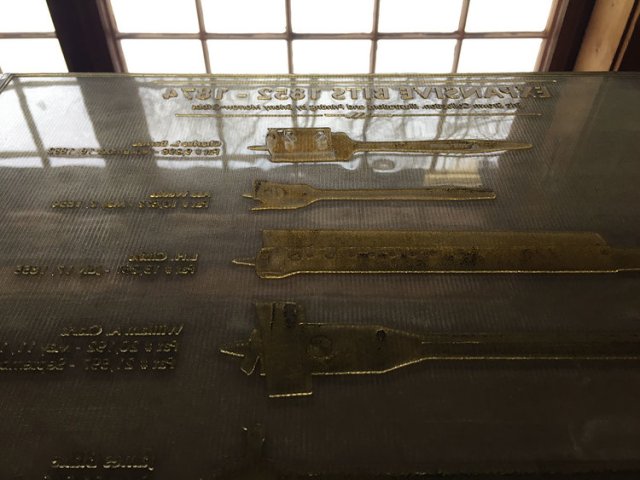
Polymer relief plate ready to be inked and printed
For the first printing of the illustration, I used a makeshift base plate from a ¾” piece of MDF topped by an ⅛” sheet of acrylic. While I was able to produce enough prints for the initial edition, the instability of those two materials meant that the printing of the plate was inconsistent. After receiving a solid ⅞” aluminum base plate from my boyfriend for my birthday, the printing of the second edition suddenly became much easier.
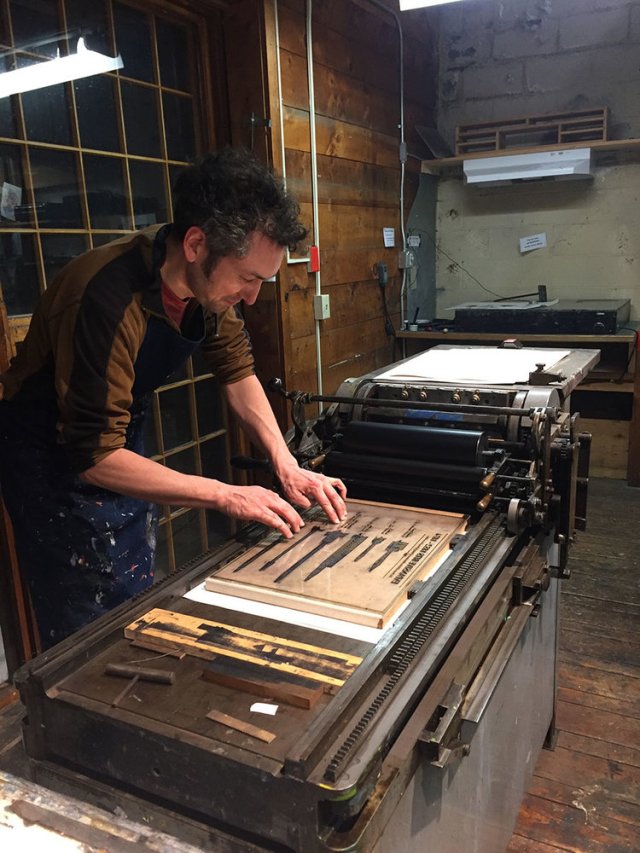
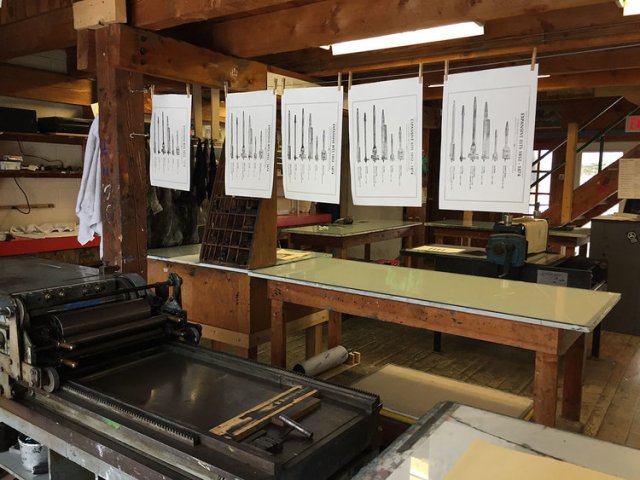
Abe getting ready to print using the Vandercook press at The Putney School.
This print can be a great addition to any home or shop. You can order a print via this link.
Special thanks to my boyfriend, Abe Noe-Hays, for helping me to set up and print both editions of the image. While neither of us are expert letterpress printers, Abe’s mechanical aptitude made the job not only manageable but also enjoyable. Thank you, Abe!