The Technique of Glueing –
This is an excerpt from “The Woodworker: The Charles H. Hayward Years: Volume II” published by Lost Art Press.
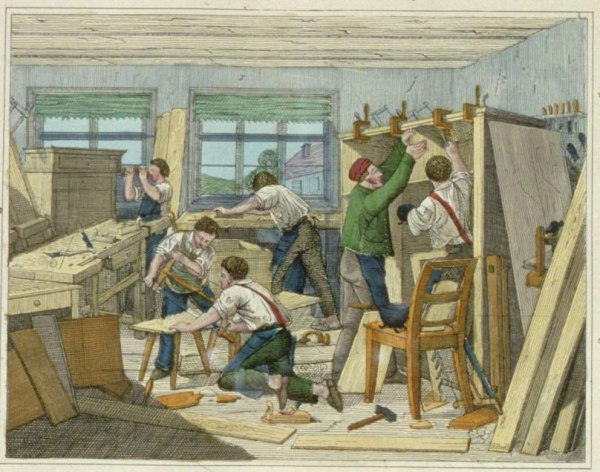
The process of glueing up is one of the most important in woodwork, and requires the attention of all craftsmen who strive to endow their work with the vital qualities of endurance and stability. Often the best methods are the easiest to use; they save labour, and result in a cleaner finish to a job.
PREPARATION OF GLUE
Quality in glue depends upon its purity; therefore it is advisable to pay a good price. The best Scotch glue is pale in colour, and is usually in thin cakes. It is is prepared by soaking in water overnight so that it absorbs the correct amount of moisture to make it of the right consistency when hot.
It is, of course, heated in the glue pot with proper water container, and is ready for use when a skin forms on the top of the liquid. If a little powdered alum is stirred in during the heating the glue will be rendered waterproof, or, at any rate, resistant to damp. Never heat glue over a naked flame. It only burns it and causes it to deteriorate.
APPLICATION
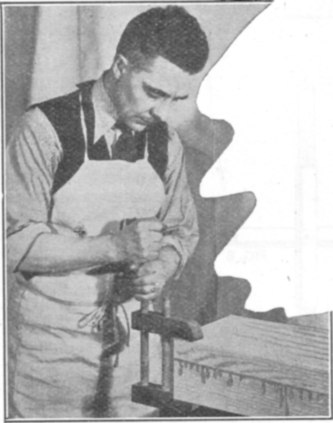
The butt or rubbed joint is usually one of the first to be prepared and glued up in most jobs. For this joint the glue MUST be thin, that is, will run from the brush in an unbroken stream, but not thin enough to splash, or break up, as it falls. Certainly it must be hot, and be kept hot while being used, preferably in a warm atmosphere.
A butt joint that is completely and permanently successful is obtained by the writer in the following simple manner: The edges of the boards to be joined are first shot straight and true, as usual. Next, they are planed a trifle hollow, usually about 1∕32 of an inch, each edge, or sufficient to make the ends of the boards pinch together tightly when the joint is cramped up. These hollow edges are lightly toothed and are warmed before being glued and rubbed together.
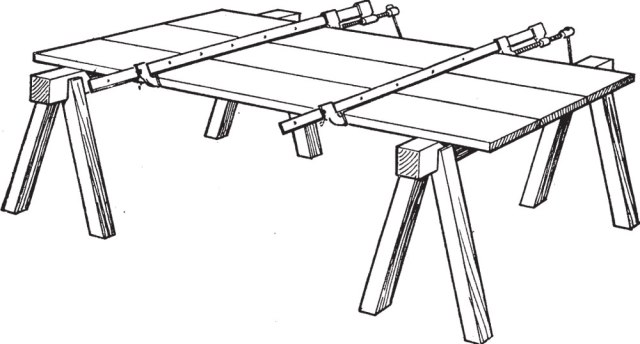
When being assembled they are placed across two trestles or similar supports.They are quickly cramped together, the number of cramps varying according to the length of the joint.
The advantage of this method is that the greatest pinch or holding power occurs at the ends of the joints, where fracture generally begins.
GLUEING DOVETAILS
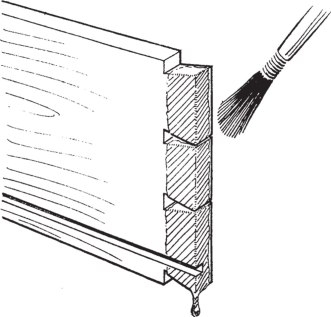
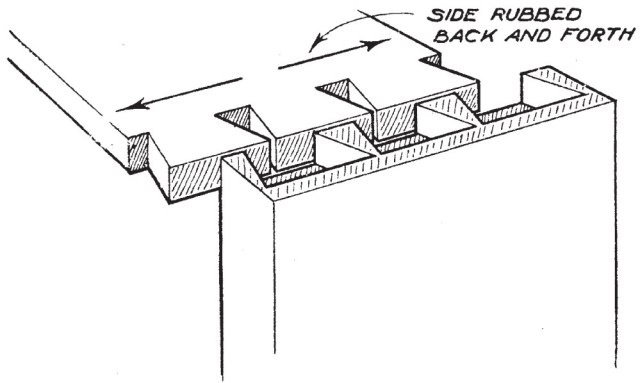
Drawers and other dovetailed joints can be cleanly assembled by brushing the glue on the inside corner of the tails or drawer side, at the same time forcing glue into the small openings where the pins fit (Fig. 2). Glue is transferred to the base of the pins by quickly rubbing the glued end grain of the drawer side across the width, at the back of the drawer front, care being taken to avoid smearing glue below the gauge line. (Fig. 3).
The drawer side is lightly tapped into position with a light hammer, and a joint is obtained with the absolute minimum of surplus glue adhering to the inside corners of the drawer.
VARIOUS JOINTS
With mortise and tenon joints the best procedure is to apply a little glue to all four sides inside the mortise, at the same time allowing a little to adhere to the edge to join up to the shoulders of the tenon, thus effecting a clean joint.
To ensure a permanent dowelled joint, it is best to countersink the holes, and tooth or roughen the dowels before they are cut into short lengths from the whole stick. After cutting to length, a saw cut is made along the length of each to allow surplus glue to escape. After inserting a little glue into the holes on one side of the joint, using for the purpose a foot of dowel rod sharpened at the end, the dowel pegs are driven in.
Mitres and similar small butted faces should be warmed before glueing, and are then rubbed together. If pins are to be used these can be driven in after the glue has set. Glue-blocks should always be rubbed on, and if previously warmed so much the better.
With all joints the aim should be to use sufficient glue to make the joint, with only a very small surplus to be afterwards cleaned off: there is no need to smother it with the glue. Remember that only the glue in the joint is used, the surplus is wasted.
As a final word, always wipe off surplus glue before it sets. Keep a clean swab and can of clean hot water for the purpose. Do not use the water in the glue pot. It is usually dirty and will probably discolour the wood.
— MB