Details on Drilling and Reaming –
To make the conical mortise for a piece of staked furniture, I first bore a hole that is the smallest size of the overall joint – typically 5/8” in diameter. Then I follow that up with a tapered reamer that turns the cylindrical mortise into a cone-shaped mortise.
There are lots of good ways to do this. Here is the method that suits my tools, head and hands.
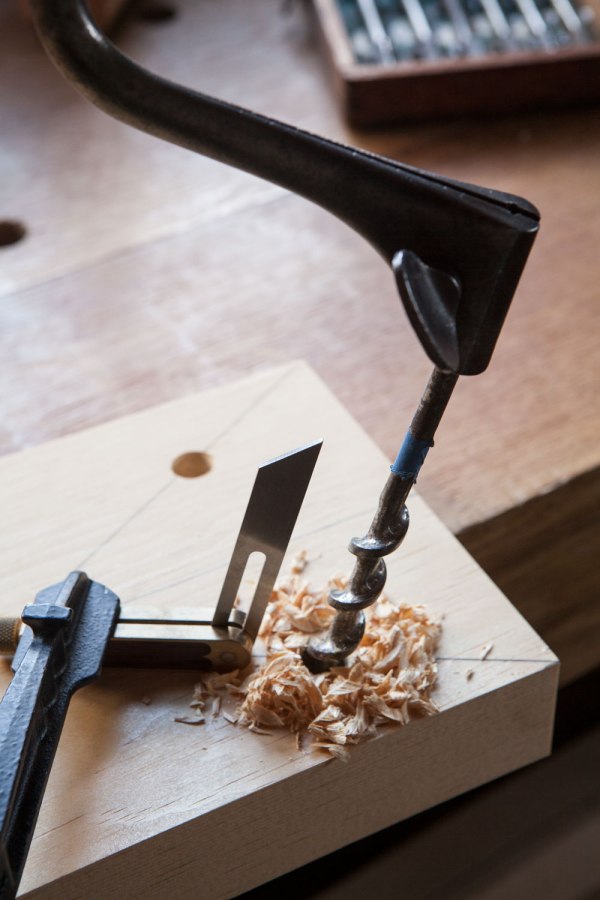
I make the 5/8”-diameter mortise with a brace. You can do this with a drill press with an angled table or any other boring tool. But after trying many methods during the last 11 years I have settled on making the initial hole with a brace and an auger.
I sight the drilling angle against a bevel gauge that I tape or clamp to the underside of the seat. As long as I sight against only one angle (what we call the resultant angle), then I can get within a fraction of a degree with this method.
Like with all good augering, I reach below the seat to feel for when the auger’s lead screw pokes through on the exit side of my hole. When I can feel the lead screw, I flip the seat over and finish the mortise from that side.
That’s the easy part for me. For many years I struggled with reaming. When I used a brace I tended to create an elliptical mortise, which is no good. After much practice, I still made a wonky mortise. I know other people do this operation with ease, but it’s out of my hands, apparently.
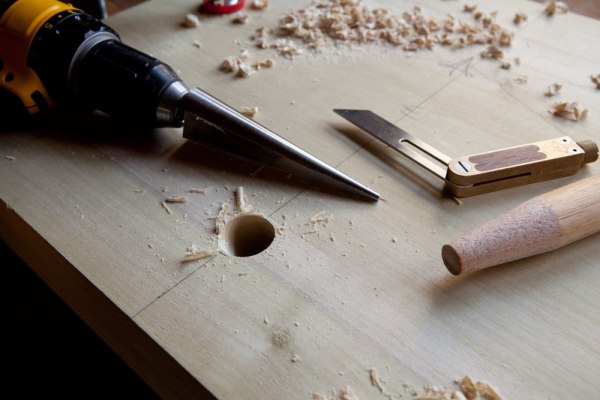
Then I tried reaming with a cordless drill that was set to a low speed and maximum torque. For some reason, this fixed my mortises. Instantly. Perhaps I’m suited to focusing on the direction of the cut while the drill supplied the round-and-round.
I’m not saying this is the best way, but it’s something to try if you have the same problem.
— Christopher Schwarz